
Hocking Hills Photography Tips for Every Season
October 29, 2026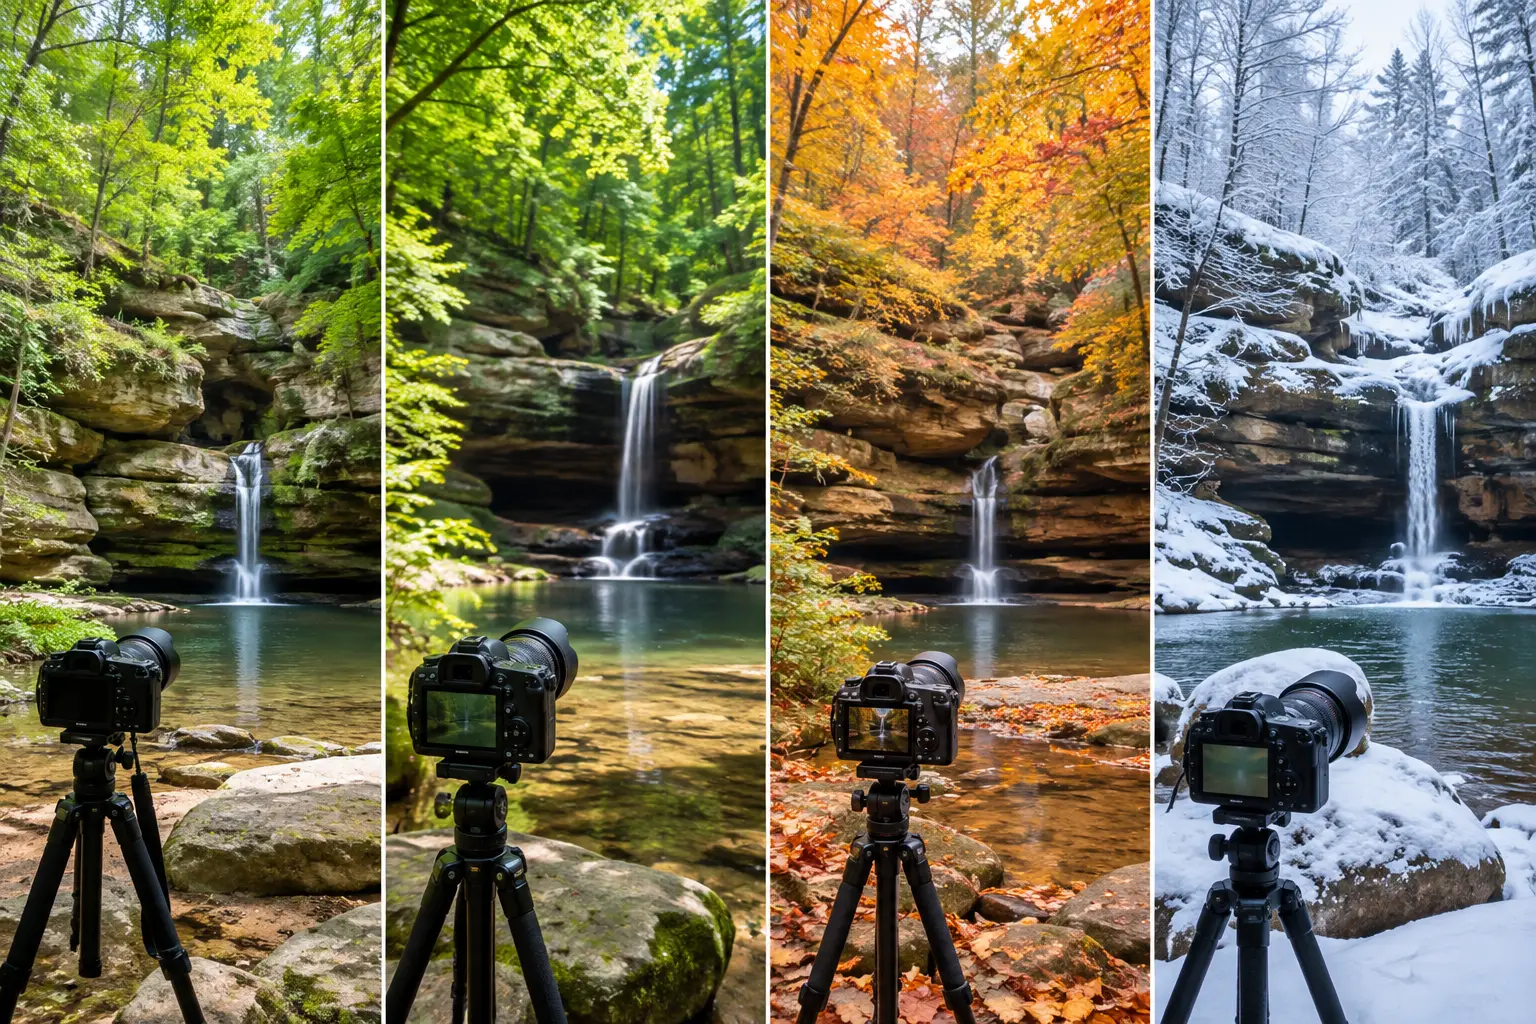
The first few minutes after rain can change Hocking Hills photography completely. Sandstone darkens to a deep rust color, hemlocks drip, and a thin veil of fog may settle through the gorge. It is the kind of place that rewards travelers who slow down, look closely, and leave a little room in the day for the light to shift.
Why Hocking Hills photographs so well
Hocking Hills is not only about big views. Its most memorable images often come from smaller details: water running over mossy stone, tree roots curling along a trail edge, shafts of light at the mouth of a recess cave, or two people standing quietly beneath a towering rock overhang.
The area’s deep gorges and dense tree cover create a moody, layered look that feels different from open-country landscape photography. That beauty also brings a trade-off. Bright midday sun can leave the sky washed out while the gorge floor stays dark. A little planning around time of day makes a noticeable difference, whether you are carrying a full camera bag or simply using your phone.
Hocking Hills photography starts with the light
For waterfalls, caves, and forest trails, overcast weather is often more useful than a cloudless afternoon. Soft clouds act like a natural diffuser, reducing harsh shadows and helping the greens, browns, and sandstone colors hold their detail. If rain is in the forecast, pack a waterproof layer and protect your camera or phone. A damp trail can be worth it for richer color and fuller waterfalls.
Early morning is a strong choice for quiet trails and a better chance of mist. It is especially nice for couples or families who want photographs without a busy background. Start before the parking areas fill, then plan a relaxed breakfast back at the cabin after your walk.
Late afternoon and the hour before sunset work best for overlooks, open fields, and cabin photos. The low sun adds warmth to leaves and wood siding, while the forest begins to feel calmer. In summer, the tree canopy may keep the gorges dim even near sunset, so save your wider sunset shots for more open areas rather than expecting a glowing sky from the bottom of every trail.
At night, the woods offer another scene altogether. On a clear evening away from heavy city light, try a few sky photos from an open area with a stable tripod. Keep safety first: know your footing, carry a flashlight, and do not wander unfamiliar trails after dark for one more shot.
Plan locations around the experience you want
A single day can feel rushed if you try to photograph every famous stop. Pick two or three places, give each one time, and build in breaks. The best trip photos usually include the moments between attractions too: coffee on the deck, muddy hiking boots by the door, a dog stretched out after a trail walk, or the first fire at the fire pit.
Waterfalls and recess caves
Ash Cave is a natural choice when you want scale. Its broad, sweeping recess cave makes people look wonderfully small, so bring a wide-angle lens or use the widest setting on your phone. Place a person near the waterfall or along the path to give the scene a sense of size. The paved approach also makes this a comfortable option for a slower-paced outing.
Cedar Falls is ideal for moving-water images, especially after seasonal rainfall. A tripod and a slower shutter speed can turn water into a soft flow, but a handheld shot can be just as compelling when it captures individual splashes and texture. Avoid stepping off established trails to find a new angle. The rocks are slippery, and the best photograph is never worth a fall.
Old Man’s Cave offers variety in a compact area, with stone bridges, narrow passages, waterfalls, and dramatic walls. It works well for travelers who want a mix of scenic landscapes and candid group photos. Look behind you as often as you look ahead. A bend in the trail or a patch of backlit leaves may be the image you remember most.
Cliffs, trails, and quiet details
Rock House has a darker, more dramatic feel. Exposure can be challenging because the openings are bright and the interior is shadowed. Tap to expose for the highlights on a phone, or bracket a few exposures with a camera if you are comfortable editing later. Keep voices low and give other visitors space in this enclosed setting.
For a gentler visual story, photograph the trail itself. Boots crossing a wooden bridge, hands brushing fern fronds, a pup waiting at a trailhead, or a jacket tied around a waist can say more about your getaway than another wide waterfall frame. These images also make a photo album feel personal rather than postcard-perfect.
What to pack for better trail photos
You do not need professional gear for a rewarding photography trip, but a few practical items help. A phone with a cleaned lens, a small microfiber cloth, a portable battery, and a weather-resistant daypack cover the basics. If you bring a camera, a wide-angle lens is useful for cave openings and tight forest scenes, while a short telephoto lens can isolate leaves, rock textures, and distant details.
A compact tripod is helpful for waterfalls and low-light scenes, but it should be easy to carry and quick to set up without blocking the trail. Bring only what you will genuinely use. Hocking Hills trails include stairs, uneven roots, and wet stone, and a lighter bag makes it easier to stay steady.
Wear shoes with reliable grip, even when the forecast looks dry. A small towel is useful for wiping off a bench before a family photo, drying a phone case, or cleaning mud from a lens cap. In cooler months, fingerless gloves can make camera controls much easier to manage.
Give your photos a comfortable home base
A good photography day has a rhythm: head out early, explore without hurrying, then come back somewhere private enough to put your feet up and look through what you captured. Staying near the major sights means less time in the car and more flexibility when the weather turns interesting.
At Majestic Woods Cabins, guests can return from the trail to warm up in a hot tub, rinse off in an outdoor shower, or settle around the fire pit while the last light fades through the trees. The decks, wooded surroundings, and pet-friendly spaces also create easy photo opportunities on days when you would rather keep the schedule simple. A friendly game of pickleball, disc golf, or basketball can add a playful chapter to a weekend gallery.
Photograph thoughtfully and leave the place beautiful
The most lasting Hocking Hills images come from respecting the landscape that made them possible. Stay on marked trails, keep away from unstable edges, and do not climb on protected rock formations for a better angle. Moss, wildflowers, and the soft ground along creek banks can be damaged quickly, even when a spot looks untouched.
If you use a drone, confirm current rules before you pack it. Park regulations, privacy concerns, wildlife, and nearby visitors all matter, and rules can change. The same goes for posed sessions or commercial work: check current permit requirements directly with the appropriate park office before making plans.
Be patient with other hikers. Wait for a bridge or overlook to clear rather than pressuring people to move, and keep photo setups brief in narrow spaces. Sometimes the better frame arrives when you stop directing the scene and let the woods do what they do.
Bring home the grand waterfall shot if you get it. But also keep the imperfect ones: the mist on a windshield, the dog looking the wrong way, the glow from a cabin window after a long hike. Those are often the photographs that bring you right back to the feeling of being here.
